flutterflow_ui 0.2.0+1  flutterflow_ui: ^0.2.0+1 copied to clipboard
Flutter package that makes it easy to use UI widgets and code generated by FlutterFlow in your Flutter projects.
flutterflow_ui #
flutterflow_ui simplifies the process of adding FlutterFlow-generated UI code to your Flutter projects. It streamlines integration, saving you time and effort in the UI development for your Flutter app.
Generate code in your FlutterFlow project #
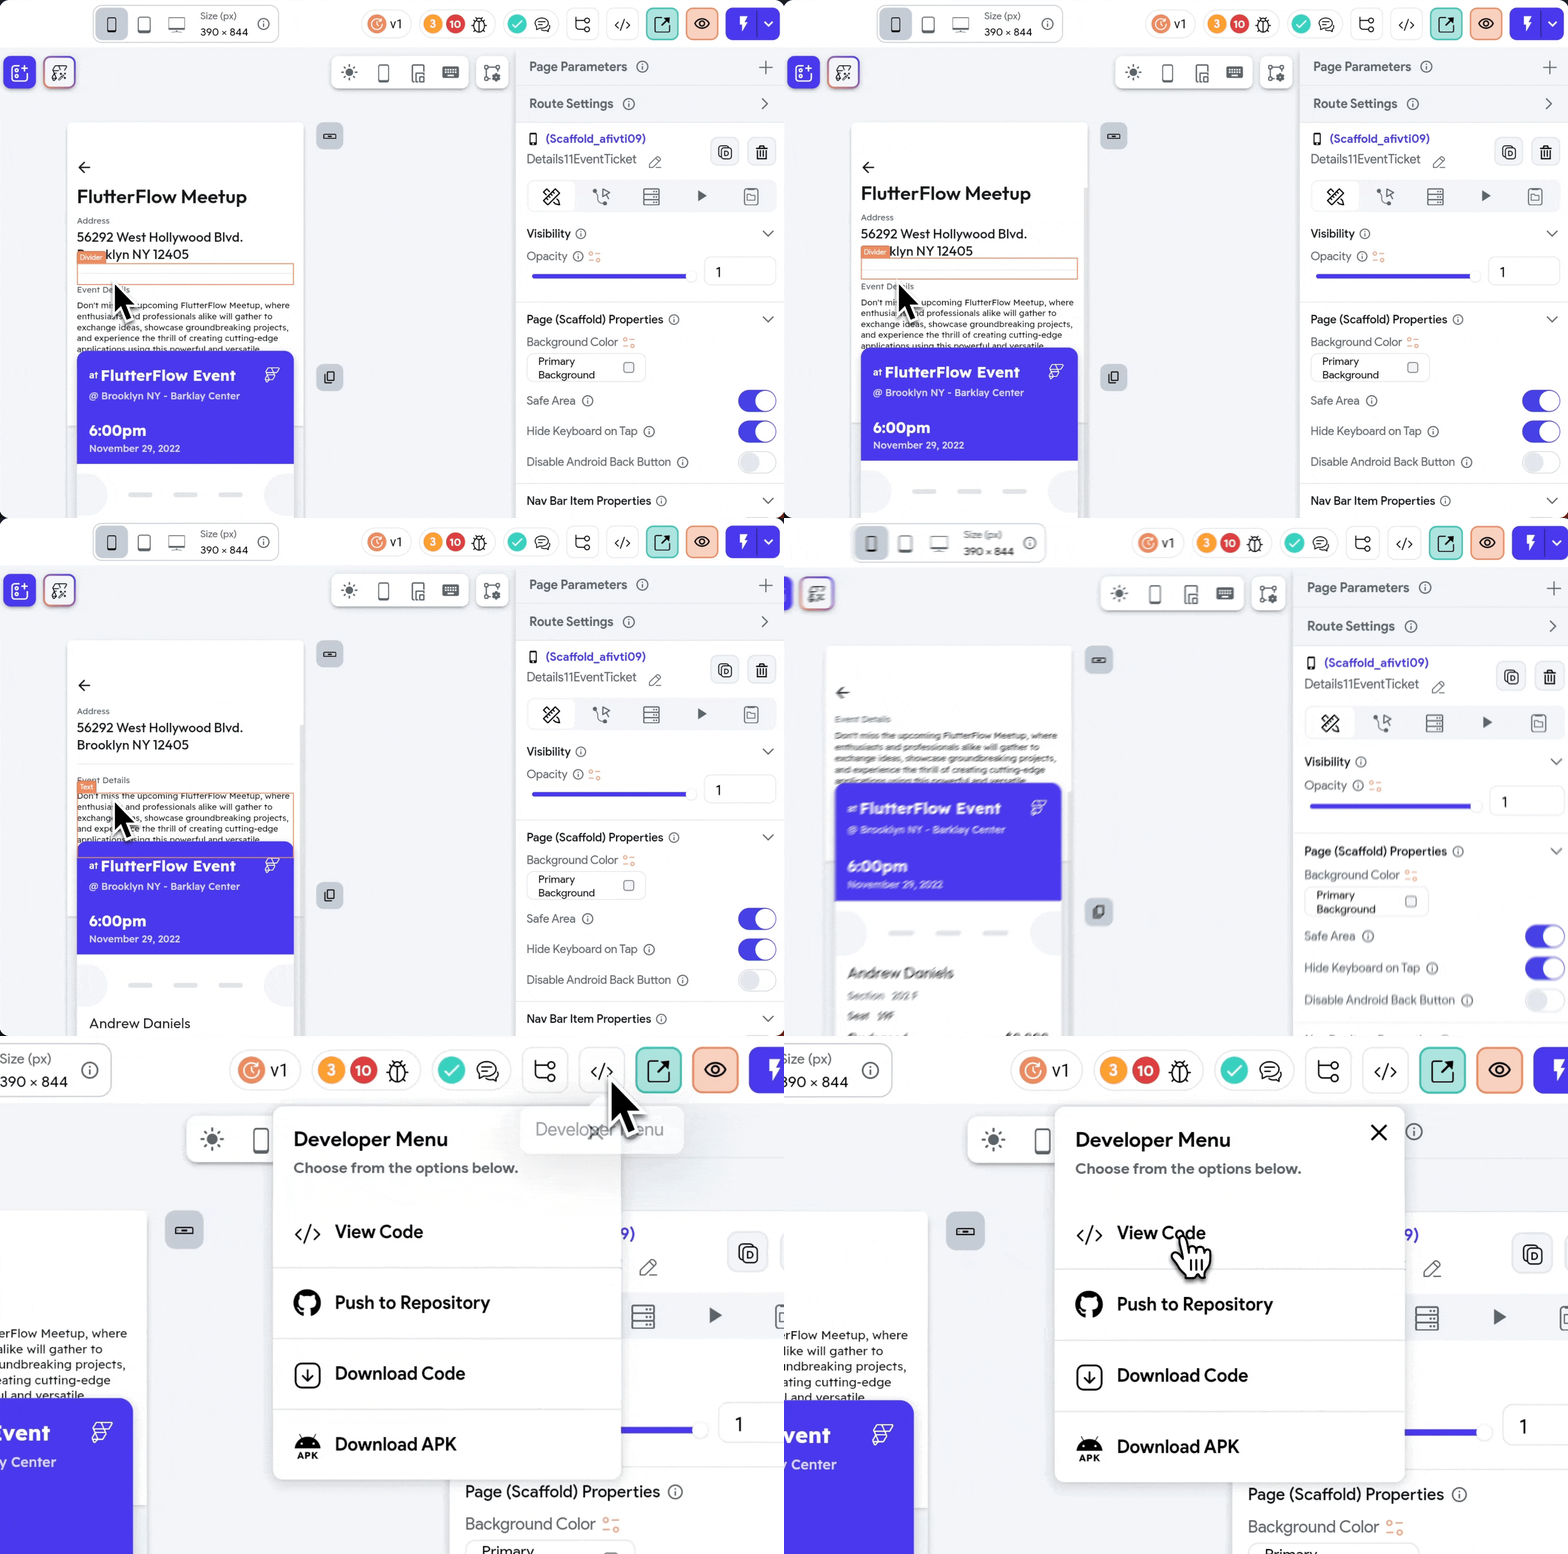
In your FlutterFlow project, navigate to the code icon and click on "View Code".

Here, you will find the FlutterFlow-generated code for your pages and components. Choose the specific page or component you need, then copy the widget code. Paste this code into a new Flutter file within your Flutter project.
Ensure you also include the generated model code in the same file or in a separate file, depending on your directory structure. In some cases, this file may initially be empty, and you can decide whether to keep or remove it later.
After pasting the code, you might encounter some errors, but don't worry. These issues will be resolved through the following steps.
Add Dependency #
Now in your Flutter project, open your pubspec.yaml file and add flutterflow_ui under dependencies:
dependencies:
  flutterflow_ui: <latest_version>
Remember to run flutter pub get
Replace the flutter_flow dependencies with the package import #
In your imports, you will see a bunch of flutter_flow/flutter_flow... imports that are usually present in a FlutterFlow project but with this package you can resolve these errors.
Remove such imports
import '/flutter_flow/flutter_flow_animations.dart';
import '/flutter_flow/flutter_flow_icon_button.dart';
import '/flutter_flow/flutter_flow_theme.dart';
import '/flutter_flow/flutter_flow_util.dart';
And replace it with the package import.
import 'package:flutterflow_ui/flutterflow_ui.dart';
Cleaning Up Unnecessary Code #
In the beginning of the build method, you might encounter the line context.watch<FFAppState>();. This line is beneficial in a FlutterFlow project, but in your Flutter project, you might have a different method for managing global constants and variables. If that's the case, feel free to remove this line of code.
Additionally, if you're not using the Provider package for state management in your project, you can safely remove the import statement related to it.
Lastly, double-check that your model file, if it's located in a separate file, is correctly imported.
With these adjustments, you're ready to run the FlutterFlow-generated code in your Flutter project.
Some usecases #
How to add a widget with animation to an existing Flutter screen? #
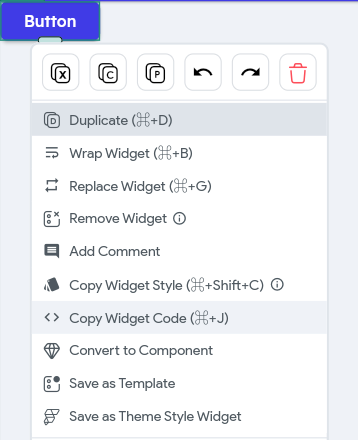
- Begin by right-clicking on the component or widget within your FlutterFlow canvas. Then, select "Copy Widget Code."

Alternatively, you can follow similar steps as mentioned above, but click on "View Code" from the Developer Menu. After that, click on the widget in the preview that you want to copy. The code will be displayed on the left-hand side.
- Next, paste the widget code into your Flutter widget file wherever you'd like to place it.
- If you encounter errors related to
animationMap, don't worry. This is located in your Stateful Widget of the screen where it's currently placed. You can now copy theanimationsMapto your widget body. Once you've done this, the errors will disappear, and you can run your code without any issues.
Supports the following FlutterFlow widgets #
- Layout Elements supported by Material/Cupertino package
- Calendar
- Charts
- Credit Card
- Media Display
- Rive
- Swipeable Stack
Documentation & More Usages #
You can check out our documentation for more examples